How to Brine Your Turkey
You just bought a fabulous fresh Turkey from Fossil Farms and are questioning what to do next. While we are sure you will love your Thanksgiving main course no matter what preparation you choose, one of the things you may be pondering is whether to brine your bird or not? On top of that which sort of brine should you go with?
The fresh, natural, and sustainably raised Turkey you get from us will have an amazing flavor that you will not be used to from any sort of bird you’ve previously gotten in a supermarket, will be juicier than you’ve experienced before, and truly does not need the brining process, but adding in some extra flavor and moisture is never a bad thing, right?
So which brine do you go for: Dry or Wet? There are a few things to consider when you are making that decision. The main thing to consider is whether you are looking to add moisture to the bird or are you simply looking to add more flavor. With a wet brine, the bird is soaked in a saltwater solution. While the salt is breaking down the proteins the water in the solution is absorbed into the bird. With a dry brine the salt is used to break down the proteins which will help the bird retain its moisture during the cooking process. While you can add things such as citrus zest, herbs, and sugar to either brine, more of those flavors will be transferred with the dry brine.
The other big consideration is the space you have to store your Turkey. When it comes to the holidays, real estate in the fridge is precious and wet brining can take up a large chunk of that. To safely wet brine your Turkey you need to have a food safe container large enough for the bird and enough of the saltwater to cover it by at least an inch or so. This will need to be kept at a temperature of forty degrees or less to prevent the growth of any bacteria. For a dry brine you simply need the roasting pan and rack which you will be cooking it in and most likely using to thaw your turkey already.
Now that you have picked which direction you are going, the next big question is how do you do it?
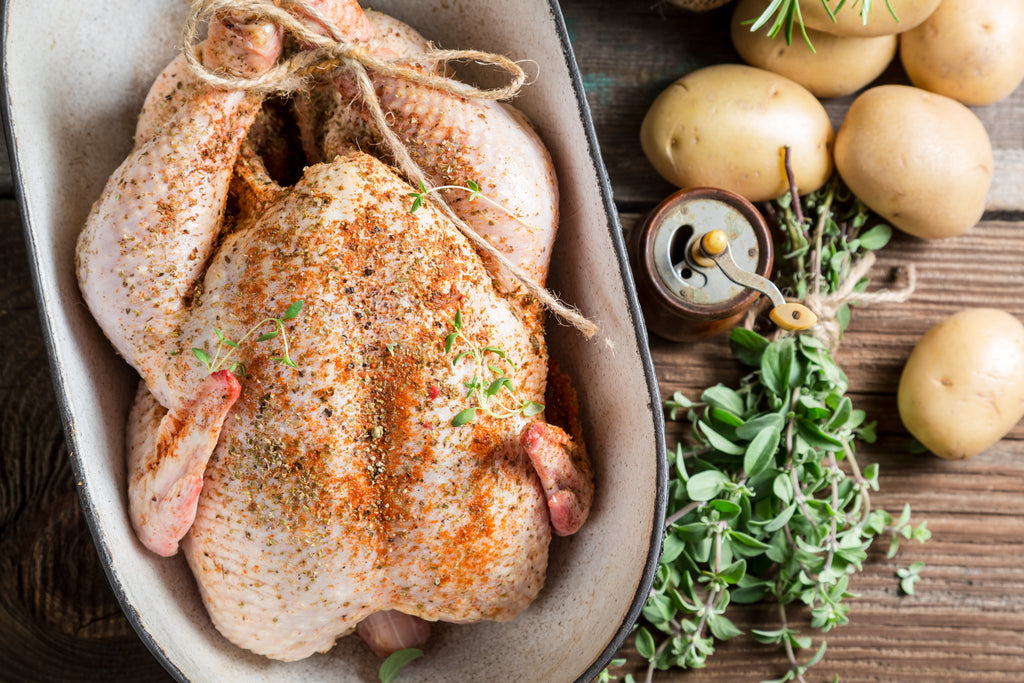
Dry Brining
Step 1: Create the Dry Brine
Creating a dry brine can be as easy as knowing how much salt to apply to your bird. To figure this you go by the weight of your Turkey. The general rule that most follow is one tablespoon of kosher salt per two pounds of turkey. With a twelve-pound bird you will use 6 tablespoons of salt, for example. While getting your salt together, this is where you can add herbs, and other aromatics such as citrus zest.
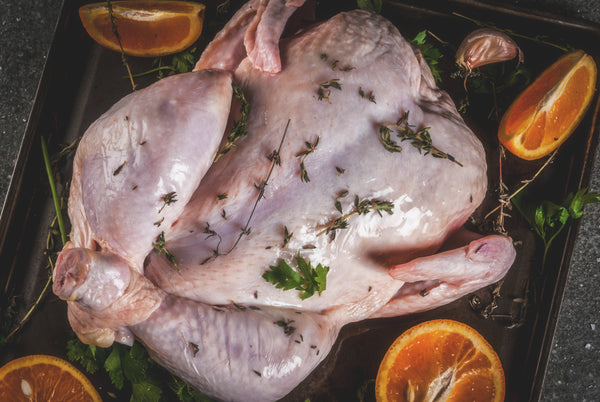
Step 2: Pat Dry the Turkey
Empty the contents of the Turkey’s cavity and pat dry both the inside and outside of the bird. This is an important step because a wet turkey will not give you the same golden brown and delicious roast you are aiming for.
Step 3: Dry Rub the Turkey
Apply the salt mixture gently to both the outside and interior of the Turkey.
Step 4: Refrigerate
Place your rubbed Turkey in the roasting pan on a rack and put in the coldest part of your refrigerator for 12-24 hours.
Step 5: Roast your Turkey
After the dry brining is done, you can choose to either wipe off the excess salt mixture or you can leave it on while you cook your bird. Leaving it on will only bring more flavor to the bird during the roasting process.
Wet Brining
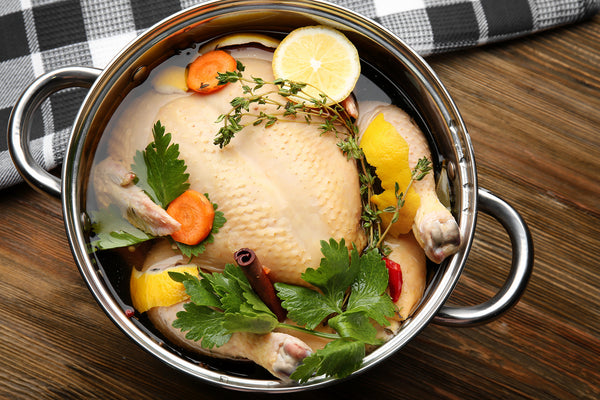
Step 1: Choose a Container
The container that you choose needs to be made for food or be able to be covered with a brining or roasting bag. You should never use something that is not food grade. Some examples of good containers to use are a stock pot, a cooler, or even a container specifically made for brining. Place your turkey still wrapped in the container and cover with water. This will not only ensure that the container is large enough, but also give you the correct amount of water you will need.
Step 2: Create the Wet Brine
The general rule for a wet brine is 1 cup of salt for every gallon of water. After measuring the amount of water, it took to cover your bird, dissolve the appropriate amount of salt into that amount of water. You can also add fresh herbs and other aromatics to this saltwater solution although the flavors will be less pronounced than they are with a dry brine.
Step 3: Submerge the Turkey
Remove your Turkey from all packaging and remove anything found in the cavity. Slowly lower the turkey into the brine making sure the whole bird is covered. The Turkey will most likely float and you will need to weigh it down with a plate or platter.
Step 4: Refrigerate
Place your brining container in the coldest part of your fridge for 24 hours.
Step 5: Pat Dry and Roast
You will want to dry the skin as much as possible to make sure the skin browns and crisps up nicely. Some will even go through the trouble of putting the bird back in the refrigerator after patting it dry for 24 hours to ensure dry skin. After this you are set to roast your Turkey.
We are sure you are going to love your Nicholas Breed Fossil Farms Turkey no matter if you brine it or not. Now that you know what a brine does, and how to do it, we would love to hear if you plan to use one on your bird or not. Stop by our social media and comment on how you will prepare your Thanksgiving masterpiece.
Share:
Autumn Inspiration
Thanksgiving Entertainment Guide